
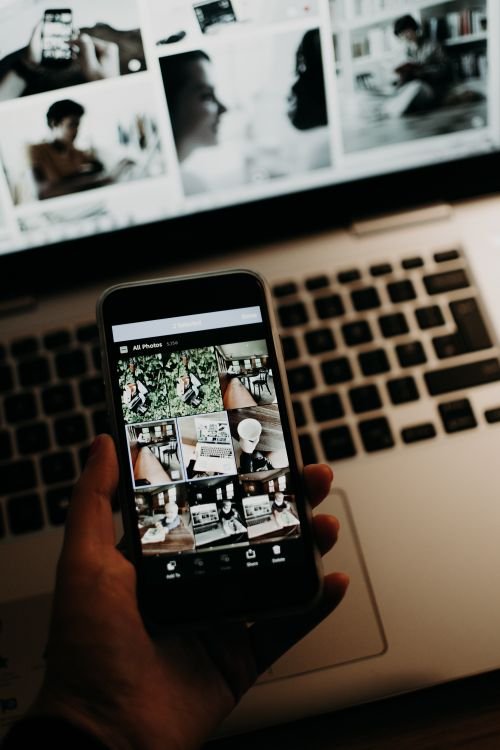
How to transfer photos from phone to computer is a skill every phone owner needs, because phones fill up fast. A few thousand photos, a handful of videos, and a collection of screenshots can quickly use all your storage, slow your phone down, and leave you unable to take a new picture at the moment that matters. The good news is that moving photos to a computer is simple, and there are several reliable methods, whether you use an iPhone or an Android phone, a Windows PC or a Mac. This guide covers the fastest, safest ways to transfer photos from phone to computer, step by step.
Before you start, decide what you want to achieve. Do you want to free up space on your phone, back up your photos in case your phone is lost, edit photos on a larger screen, or share them with family? Your goal determines the best method. A quick cable transfer is ideal for a large batch. Cloud backup is ideal for automatic, ongoing protection. A wireless transfer is ideal for a few photos when you do not have a cable nearby.
Method 1: Use a USB Cable
The simplest and fastest method for most people is a USB cable. Connect your phone to your computer with the charging cable that came with your phone, or a good-quality USB-C or Lightning cable. On an Android phone, you may need to tap the notification that appears and choose File Transfer or Transfer Photos. On an iPhone, tap Trust This Computer if prompted, and enter your passcode.
On Windows, your phone should appear in File Explorer as a device. Open it, navigate to the DCIM folder, which is where camera photos are stored, and copy the photos you want to a folder on your computer. On a Mac, an iPhone will appear in the Photos app or in Finder, where you can import photos directly. An Android phone on a Mac may need the Android File Transfer app, or you can use a web-based transfer instead.
Cable transfer is fast, it does not use mobile data or Wi-Fi, and it preserves the full quality of your photos. It is the best choice for transferring hundreds or thousands of photos at once, or for transferring large videos that would take a long time to upload to the cloud. Keep the cable connected until the copy is complete, and check that the files open correctly on your computer before you delete them from your phone.
Method 2: Use Cloud Storage
Cloud storage is the easiest way to keep photos backed up automatically. Google Photos, iCloud Photos, OneDrive, and Dropbox can all upload your photos to the cloud when you are on Wi-Fi, and then let you view, download, and organize them from any computer by signing in to the same account. Turn on backup in the app settings, choose whether to upload in original quality or a slightly compressed high quality, and let the app work in the background.
Cloud backup protects you if your phone is lost, stolen, or damaged, because your photos are stored online, not only on the device. It also makes it easy to share albums with family and to free up space on your phone, because most services offer a free up space feature that deletes local copies after they are safely backed up. The main limitation is storage: free plans usually offer 5 to 15 gigabytes, which fills quickly if you take many photos and videos, so you may need a paid plan for a large library.
Method 3: Use Email or Messaging, for a Few Photos
For a handful of photos, email or messaging is the quickest method. Select the photos on your phone, tap Share, and send them to yourself by email, or send them in a message to your own number or a messaging app you use on your computer. Open the email or message on your computer and download the photos.
This method is convenient, but it has limits. Many email and messaging apps compress photos to save data, which reduces quality, and there are often limits on file size and the number of photos you can send at once. Use this method only for quick sharing, not for backing up your full photo library, and choose the original quality option if the app offers one.

Method 4: Use Bluetooth or Wi-Fi Transfer
Bluetooth and Wi-Fi transfer are useful when you do not have a cable. On Windows, you can use Bluetooth to send photos from your phone to your computer, although it is slow for large files. Apple devices can use AirDrop to send photos wirelessly between an iPhone and a Mac, quickly and at full quality, as long as both devices are nearby and signed in to the same Apple ID or have AirDrop set to accept from contacts.
Android phones can use Nearby Share to send photos to a nearby Windows computer, or to another Android device, without a cable. Many phone manufacturers also offer their own transfer apps, such as Samsung Smart Switch or Xiaomi ShareMe, which work over Wi-Fi and are faster than Bluetooth for large batches.
Method 5: Use a Memory Card or USB Drive
If your Android phone has a microSD card, you can remove the card, insert it into your computer with an adapter, and copy the photos directly. That is fast for a large library, but be careful to eject the card safely and to handle it gently, because memory cards are fragile and easy to lose.
Some phones also support USB flash drives with a USB-C or Lightning connector, often called USB OTG drives. Plug the drive into your phone, copy the photos to the drive using the Files app, then plug the drive into your computer and copy them again. This method is useful when you have no internet, no cable, and no cloud storage, and it gives you a physical backup you can store safely.
iPhone to Windows and Android to Mac: Special Cases
Transferring between different ecosystems can be trickier. An iPhone to a Windows PC works well with a cable and the Photos app in Windows, or with iCloud for Windows, which syncs your iCloud Photos to your PC. An Android phone to a Mac works with Android File Transfer, with a cable, or with Google Photos in a browser, which is often the simplest option because it works on any computer.
If you take photos in HEIC format on an iPhone, your Windows computer may need a codec to open them, or you can change your iPhone settings to transfer photos as JPEG, which is more widely compatible. Check the transfer settings on your iPhone under Settings, Photos, Transfer to Mac or PC, and choose Automatic if you want JPEG, or Keep Originals if you want the highest quality HEIC files.
Organizing Photos After the Transfer
Transferring photos is only half the job. Organize them as soon as they are on your computer, while you still remember what they are. Create folders by year and month, or by event, such as 2026-11-Holiday or 2026-11-Family-Birthday. Rename important photos with a clear name, delete duplicates and blurry shots, and back up the organized folder to an external hard drive or to cloud storage.
Consider using photo management software, such as the Photos app on Windows or Mac, Google Photos, or a dedicated app, to search, tag, and find photos later. Adding a few tags, such as family, holiday, or work, now will save you hours of searching later, especially if you take thousands of photos a year.
For more free tools to help you organize files and photos, visit the TechInsures Tools hub on TechInsures.
Conclusion
Transferring photos from phone to computer does not have to be a chore. A USB cable is fastest for a large batch, cloud storage is best for automatic backup, email is fine for a few photos, and wireless transfer is handy when you have no cable. Whichever method you choose, do it regularly, check that the photos open correctly on your computer, and keep a second backup somewhere safe. Your photos are memories, and a few minutes of transfer today can protect them for years to come.
Frequently Asked Questions About Transferring Photos
Will transferring photos reduce their quality? Not if you use a cable, cloud storage set to original quality, AirDrop, or Nearby Share, all of which preserve the full file. Email and some messaging apps compress photos by default, so check for an original quality or HD option before you send, and avoid screenshotting a photo to send it, because that lowers quality a great deal.
How do I transfer photos if my phone screen is broken? If the screen still responds to touch, a cable transfer is usually still possible, although you may need to unlock the phone first. If the screen is unresponsive, cloud backup may already have saved your photos, and a repair shop can often help you recover them. This is why turning on automatic cloud backup before a problem happens is so important.
Should I delete photos from my phone after transferring them? Only after you have checked that they open correctly on your computer and that you have a second backup, either in the cloud or on an external drive. Deleting the only copy of a photo is risky, so treat the transfer as complete only when you can see the photos in two places, on your computer and in a backup.
Pingback: How to Take a Screenshot on Any Device: Easy Guide